
食材 Ingredients List
蛋糕胚 – Cake Base
椰子奶油 – Coconut Cream
藍椰奶油 – Blue Coconut Cream
麻糬 – Mochi
用具 Equipment List
步驟 Instructions
1. 準備藍椰奶油 Prepare the Blue Coconut Cream
煮奶油與蝶豆花:
Boil the Cream and Butterfly Pea Flower:
將350g淡奶油與2g蝶豆花放入鍋中,煮至沸騰。為了讓顏色更加鮮艷,可以稍微增加蝶豆花的用量。煮沸後,關火並靜置焖一會兒,以便蝶豆花的顏色更好地釋放到奶油中。
Place 350g of cream and 2g of butterfly pea flower in a pot, and bring to a boil. To enhance the color, you can add a bit more butterfly pea flower. After boiling, turn off the heat and let it steep for a while to release more color into the cream.
冷藏:
Refrigerate:
待奶油稍微冷卻後,將其過濾去除蝶豆花,然後將奶油放入冰箱中冷藏一夜,讓顏色和香味充分融合。
Once the cream has cooled slightly, strain out the butterfly pea flowers and refrigerate the cream overnight to allow the color and flavor to fully infuse.
2. 準備蛋糕胚 Prepare the Cake Base
乳化油與椰漿:
Emulsify the Oil and Coconut Milk:
在一個碗中,混合40g玉米油與45g椰漿,攪拌至完全乳化並均勻混合。
In a bowl, mix 40g of corn oil with 45g of coconut milk, stirring until fully emulsified and evenly mixed.
製作蛋黃糊:
Make the Egg Yolk Mixture:
將50g低筋麵粉過篩後,加入到乳化好的玉米油和椰漿混合液中。接著加入4顆蛋黃,攪拌至均勻無顆粒,形成蛋黃糊。如果你的雞蛋比較小,可以增加至5顆。
Sift 50g of cake flour and add it to the emulsified corn oil and coconut milk mixture. Then, add 4 egg yolks and stir until smooth and lump-free to create the egg yolk mixture. If your eggs are small, you may use 5.
打發蛋清:
Whip the Egg Whites:
將4顆冷藏過的蛋清倒入乾淨、無油的碗中。加入少量檸檬汁,開始打發蛋清。當蛋清出現魚眼泡時,逐漸加入45g糖,繼續打發,直到蛋白霜形成濃稠且有彈性的軟性尖峰(即提起打蛋器後,蛋白霜能形成小彎鉤狀)。
Pour 4 chilled egg whites into a clean, oil-free bowl. Add a small amount of lemon juice and start whipping the egg whites. When they become foamy, gradually add 45g of sugar and continue whipping until soft peaks form.
混合蛋黃糊與蛋白霜:
Combine the Egg Yolk Mixture with the Meringue:
取1/3的蛋白霜,加入到蛋黃糊中,輕輕攪拌均勻。這一步是為了讓蛋黃糊變得較為鬆軟,便於與剩餘的蛋白霜混合。然後將拌勻的蛋黃糊倒回剩餘的蛋白霜中,輕輕以切拌的方式攪拌,直至混合均勻。這一步要輕手,以避免消泡。
Take 1/3 of the meringue and gently fold it into the egg yolk mixture to lighten it. Then, pour the lightened mixture back into the remaining meringue and gently fold until fully combined. Be careful not to deflate the mixture.
烘烤蛋糕胚:
Bake the Cake Base:
將混合好的蛋糕糊倒入模具中,抹平表面。將模具放入預熱至150°C的烤箱中,烘烤約30分鐘,直到蛋糕熟透且表面呈現金黃色。
Pour the combined batter into a mold and smooth the surface. Place the mold in an oven preheated to 150°C and bake for about 30 minutes, until the cake is fully cooked and golden brown.
3. 準備蒸麻糬 Prepare the Steamed Mochi
混合材料:
Mix the Ingredients:
將60g糯米粉、10g玉米澱粉、25g糖與150g牛奶混合在一起,攪拌至完全均勻。將混合好的麵糊過篩,以去除可能的顆粒。
Mix 60g of glutinous rice flour, 10g of cornstarch, 25g of sugar, and 150g of milk together until fully combined. Sift the mixture to remove any lumps.
蒸麻糬:
Steam the Mochi:
將麵糊倒入容器中,使用保鮮膜包好並扎孔。將容器放入已經沸騰的蒸鍋中,大火蒸30分鐘,直至麻糬完全熟透。
Pour the batter into a container, cover it with plastic wrap, and poke holes in the wrap. Place the container in a steamer with boiling water and steam on high heat for 30 minutes until the mochi is fully cooked.
加入黃油:
Add the Butter:
蒸好的麻糬趁熱加入10g黃油,並開始揉捏,直至黃油完全吸收且麻糬的延展性變好。
While the mochi is still hot, add 10g of butter and knead until the butter is fully absorbed and the mochi becomes elastic.
4. 準備椰子奶油 Prepare the Coconut Cream
打發藍椰奶油:
Whip the Blue Coconut Cream:
從冰箱取出冷藏一夜的藍椰奶油,將其與10g椰漿粉和20g糖一同打發至濃稠。
Take the blue coconut cream out of the fridge and whip it with 10g of coconut milk powder and 20g of sugar until thick.
打發椰子奶油:
Whip the Coconut Cream:
在另一個碗中,將300g淡奶油、10g椰漿粉和20g糖一同打發,直到奶油形成硬性尖峰。
In another bowl, whip 300g of cream with 10g of coconut milk powder and 20g of sugar until stiff peaks form.
5. 組裝蛋糕 Assemble the Cake
模切蛋糕胚:
Trim the Cake Base:
將烤好的蛋糕胚修整成所需的形狀,準備組裝。
Trim the baked cake base to the desired shape, ready for assembly.
填充麻糬:
Fill with Mochi:
在蛋糕胚的中心放入蒸好的麻糬,將麻糬蓋上椰子奶油,形成一層“夏涼被”。
Place the steamed mochi in the center of the cake base, then cover the mochi with a layer of coconut cream, creating a “summer blanket.”
裝飾蛋糕:
Decorate the Cake:
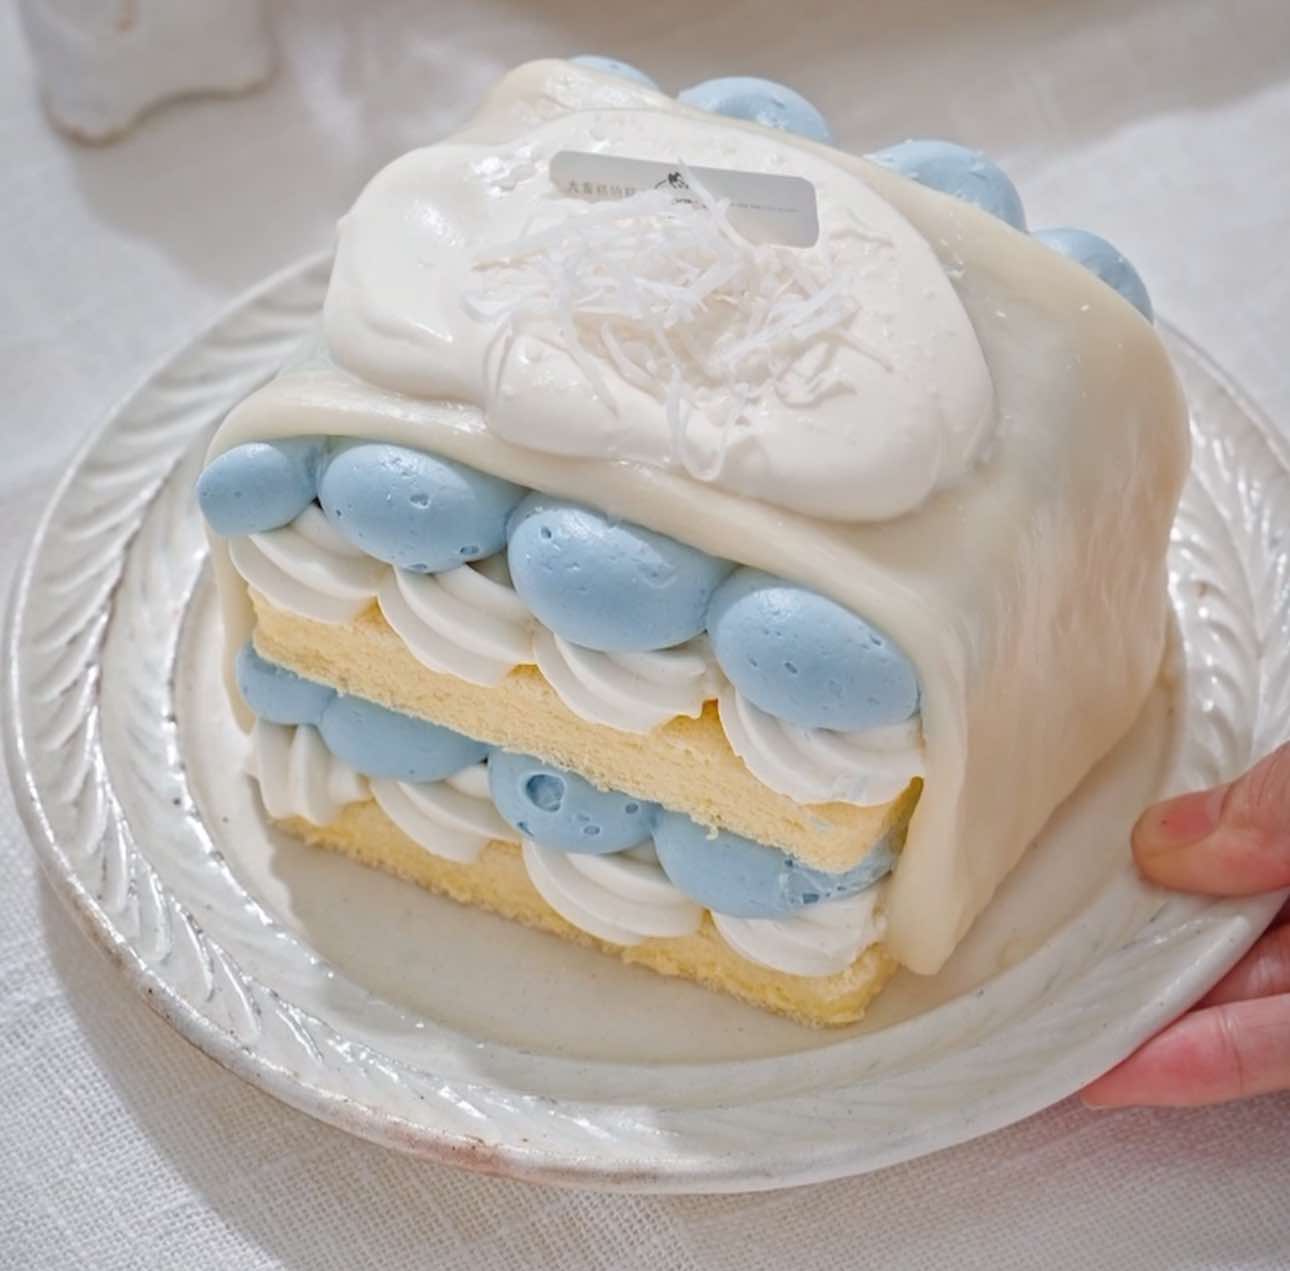
在蛋糕表面抹上一層打發好的藍椰奶油,並撒上少許椰絲作為裝飾。
Spread a layer of whipped blue coconut cream on the cake’s surface, and sprinkle some shredded coconut as decoration.
完成:
Finish:
組裝好蛋糕後,將其放入冰箱稍微冷藏定型,然後即可切片享用。
After assembling the cake, place it in the fridge to chill and set slightly, then slice and enjoy.
教學影片 Video
影片逐字稿 Video Transcript
00:08
我們先來準備藍椰奶油
Let’s start by preparing the Blue Coconut Cream.
淡奶油 350g | 蝶豆花 2g
Cream 350g | Butterfly pea flower 2g
00:10
可以多放一點蝶豆花,關火燜一會兒更容易出色
You can add a bit more butterfly pea flower, turn off the heat and let it steep for a while to enhance the color.
00:12
冷藏一夜
Refrigerate overnight.
00:14
玉米油 40g | 椰漿 45g
Corn oil 40g | Coconut milk 45g
玉米油、椰漿充分乳化均勻
Emulsify the corn oil and coconut milk thoroughly.
00:15
低筋麵粉 50g | 蛋黃 4顆
Cake flour 50g | Egg yolks 4
加入低筋麵粉、蛋黃拌勻(我的雞蛋很小,所以用5顆)
Add the cake flour and egg yolks, mix well. (My eggs were small, so I used 5.)
00:19
蛋清 4顆 | 檸檬汁
Egg whites 4 | Lemon juice
冷藏過的蛋清加檸檬汁打出魚眼泡泡
Chilled egg whites, add lemon juice and beat until foamy.
00:21
糖 45g
Sugar 45g
加糖,打出彈性小彎鉤
Add sugar and beat until soft peaks form.
00:24
分出一部分蛋清與蛋黃糊混合
Fold a portion of the egg whites into the yolk mixture.
00:25
倒回蛋白霜中混合均勻
Pour back into the remaining meringue and mix gently.
00:28
烤箱預熱150°C,烤30分鐘
Preheat the oven to 150°C and bake for 30 minutes.
00:31
糯米粉 60g | 玉米澱粉 10g | 糖 25g | 牛奶 150g
Glutinous rice flour 60g | Cornstarch 10g | Sugar 25g | Milk 150g
等待的時間蒸個麻糬
While waiting, steam some mochi.
00:34
材料混合後過篩
Sift the mixed ingredients.
00:36
保鮮膜包好、扎孔,水開後大火蒸30分鐘
Wrap with plastic wrap, poke holes, and steam on high heat for 30 minutes after the water boils.
00:38
奶油 10g
Butter 10g
趁熱加入黃油揉勻
Add butter while hot and knead until smooth.
00:41
反復拉扯,直至延展性變好
Pull and stretch repeatedly until the dough becomes elastic.
00:43
冷藏一夜的奶油過濾掉蝶豆花
Strain out the butterfly pea flowers from the cream that was refrigerated overnight.
00:47
椰漿粉 10g | 糖 20g
Coconut milk powder 10g | Sugar 20g
加椰漿粉、糖打發
Add coconut milk powder and sugar, then whip.
00:49
淡奶油 300g | 椰漿粉 10g | 糖 20g
Cream 300g | Coconut milk powder 10g | Sugar 20g
椰子奶油打發
Whip the coconut cream.
00:52
模切蛋糕胚組裝一下
Trim and assemble the cake base.
00:59
蓋好麻糬“夏涼被”,加一點奶油、椰絲
Cover the mochi with a “summer blanket,” and add some cream and shredded coconut.